FREE SHIPPING ON ALL ORDERS TO THE USA!

De-Winterizing Your RV: A Step-by-Step Guide
The weather is warming up, the snow is melting quickly, birds are chirping even in the midwest, and spring is almost here! It feels like we were just talking about RV winterizing ideas when suddenly it's time to de-winterize your RV!
Recreational vehicles may be subject to damage in the winter if necessary safeguards are not taken. Cold temperatures and severe weather conditions can harm pipes, seals, and appliances. Whether or not you need to de-winterize your RV, it is important to make sure your camper is serviced and ready for the upcoming camping season. It is crucial to thoroughly de-winterize it and service it to make sure it is adventure ready.
For RVers, spring is an exciting season. Many people have been winterizing and storing their RVs for months, and signs of spring signal ideas and preparations for the approaching camping season. While winterizing the RV is a dreadful chore for some since it symbolizes the end of the season, de-winterizing is a more happy, hopeful task. However, it is critical that this task be completed correctly. The de-winterizing step is just as important as the winterizing step. Do not skip or skimp on this task.
Here is a step-by-step guide to help you get your RV ready for spring.
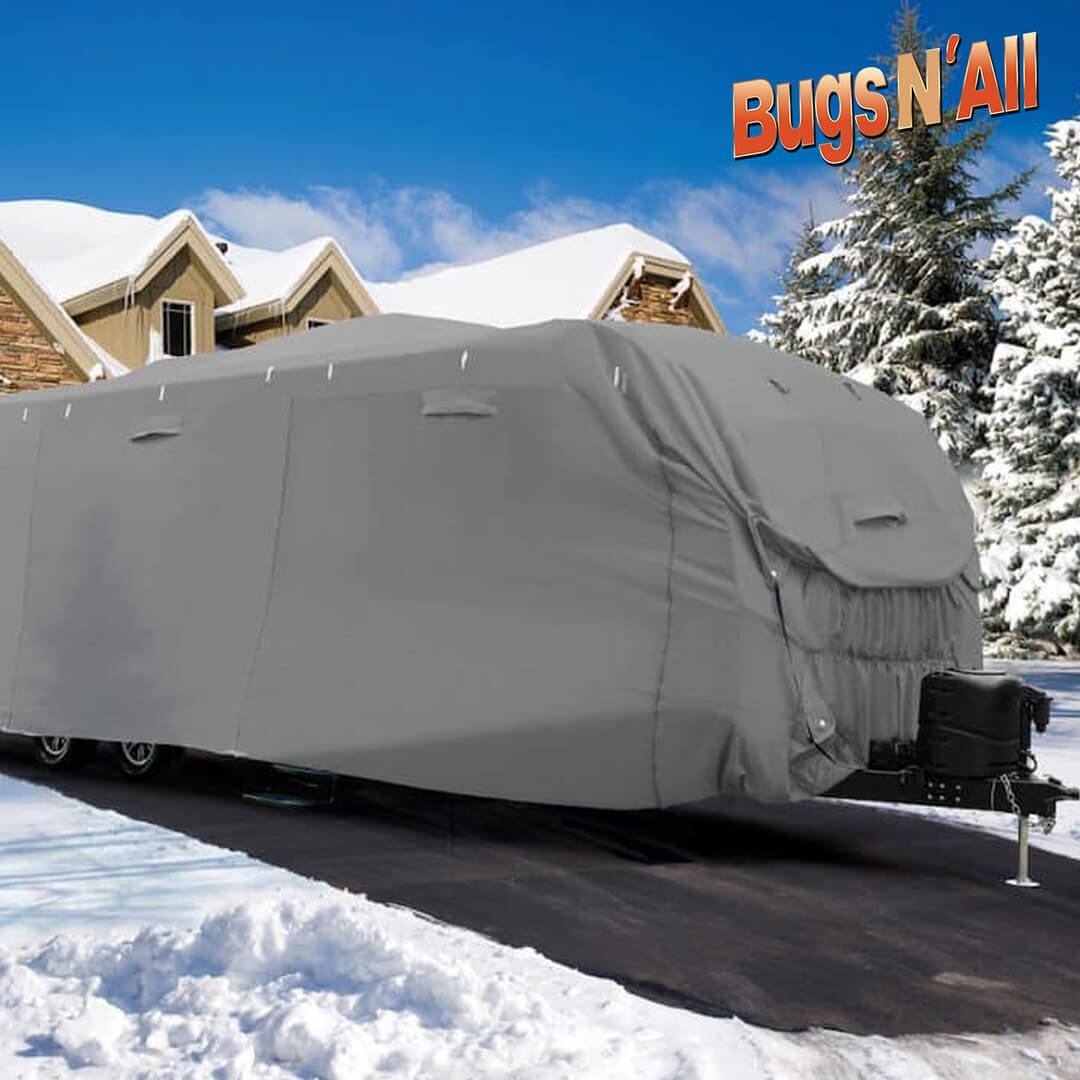
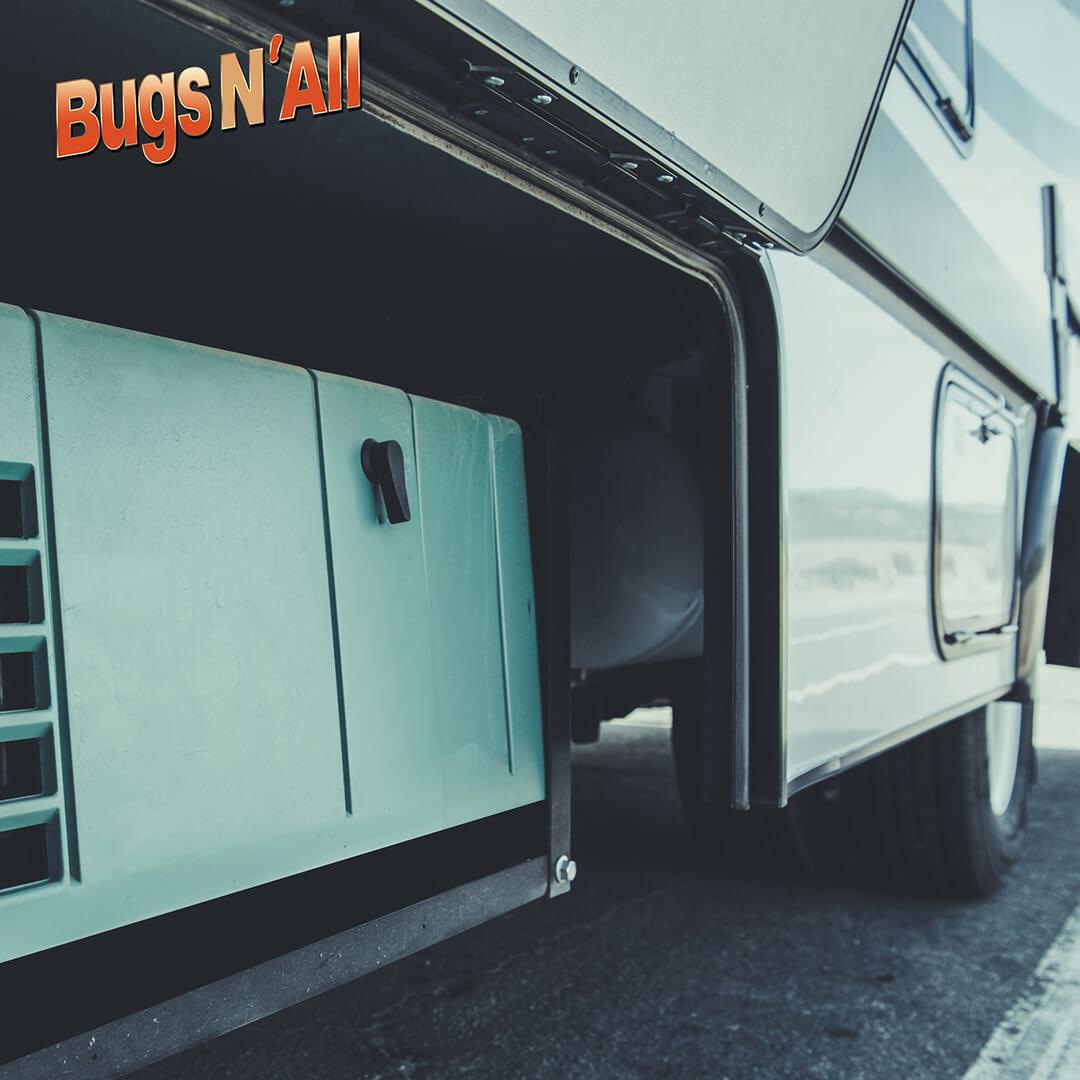
Step 1: Remove Winter Protection
Remove any winter protection you may have provided for your RV such as window and door coverings, skirting and covers. This will aid in preventing moisture-related damage and enable you to check the RV for any potential problems.
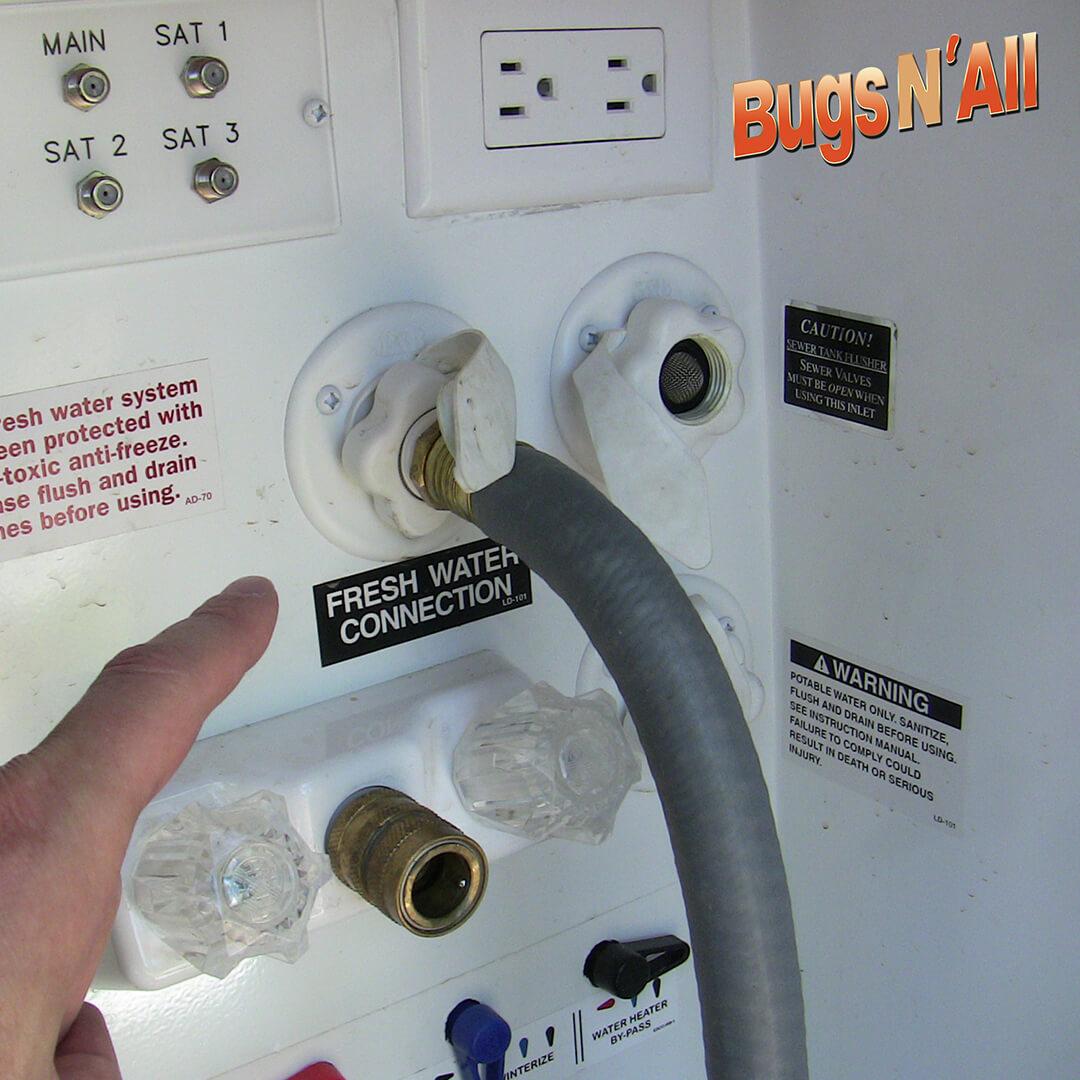
Step 2: Run Water Through the Pipes
Attach a water line to the tank fill port and put some water into the tank. Activate the water pump, then run the faucets until the water is clear. This will remove any antifreeze that may still be present in the pipes. To make sure that all the pipes are clear, turn on all the faucets, including the ones for the shower, kitchen sink, and bathroom sink. Remember to also flush the city water connection.
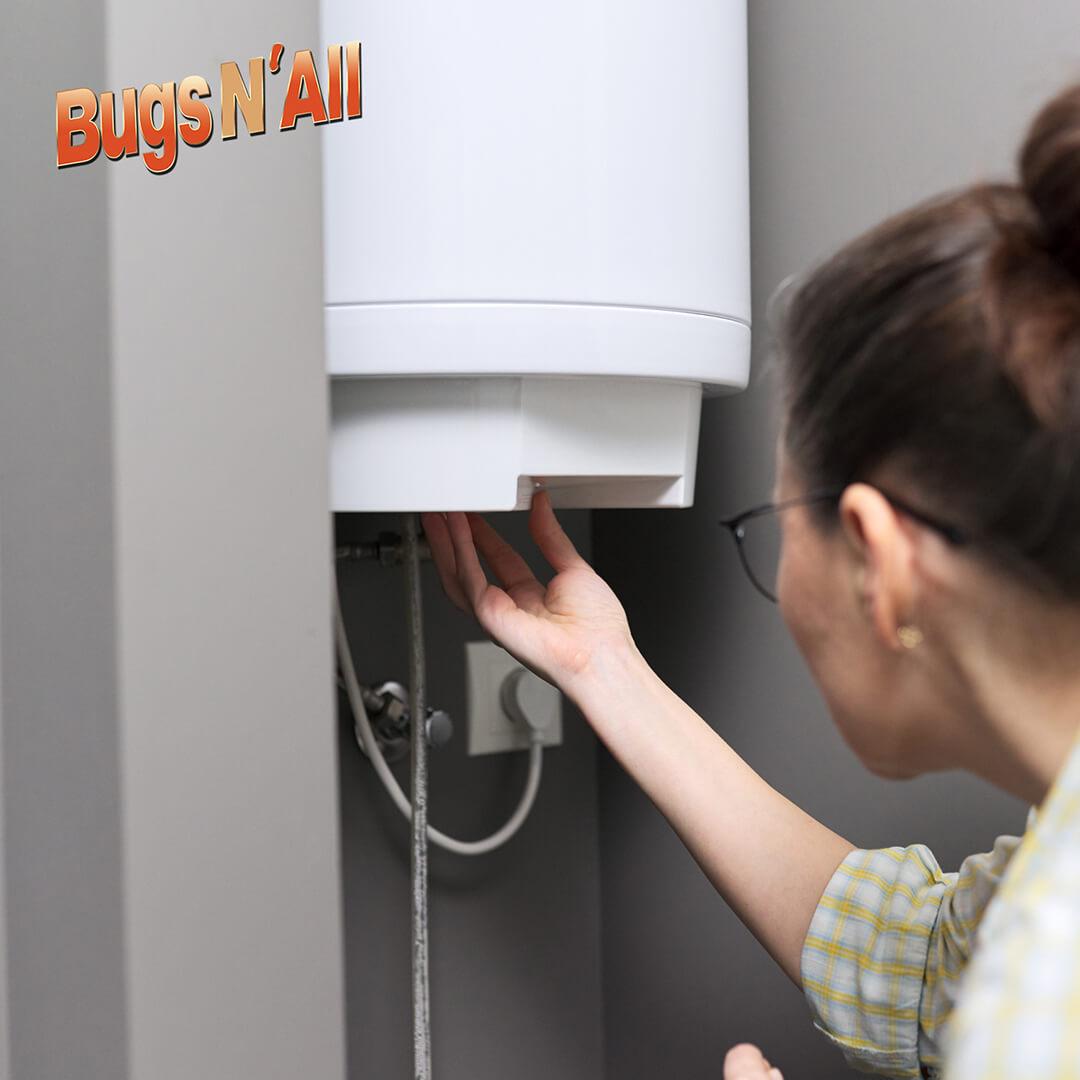
Step 3: Flush the Hot Water Heater
It's crucial to flush the hot water heater before de-winterizing your RV. Turn on the hot water faucet and let it run until it reaches the desired temperature to accomplish this. Once the water is clear, turn on the cold water faucet and turn off the hot water faucet. By doing this, you can make sure the hot water heater is working correctly and remove any antifreeze that may still be present.
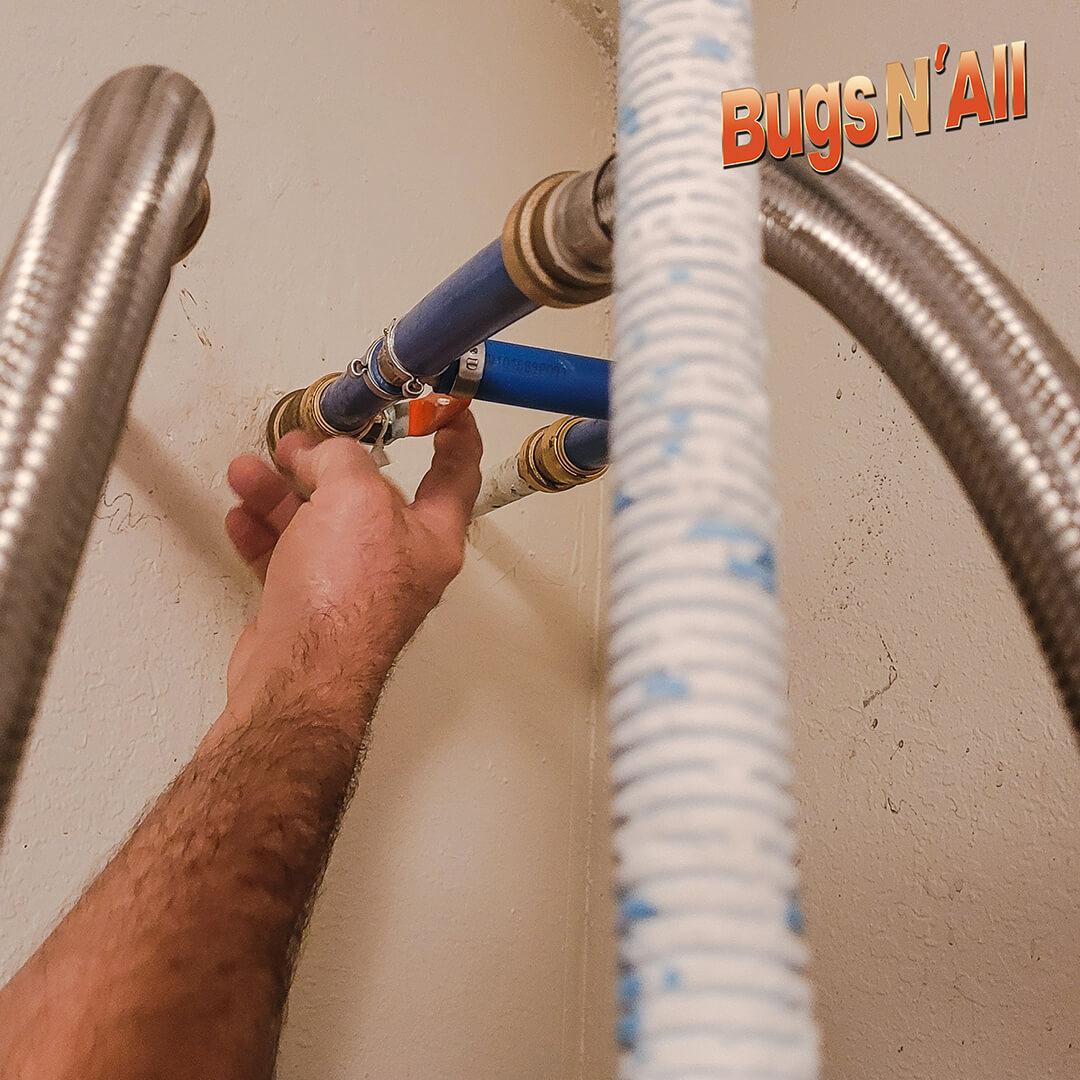
Step 4: Check the Water System for Leaks
Check the hose connections and the area surrounding the faucets, shower, and toilet for any leaks. Make any necessary repairs after checking for leaks in the water supply system. Before utilizing the RV, make sure to fix any leaks you detect.
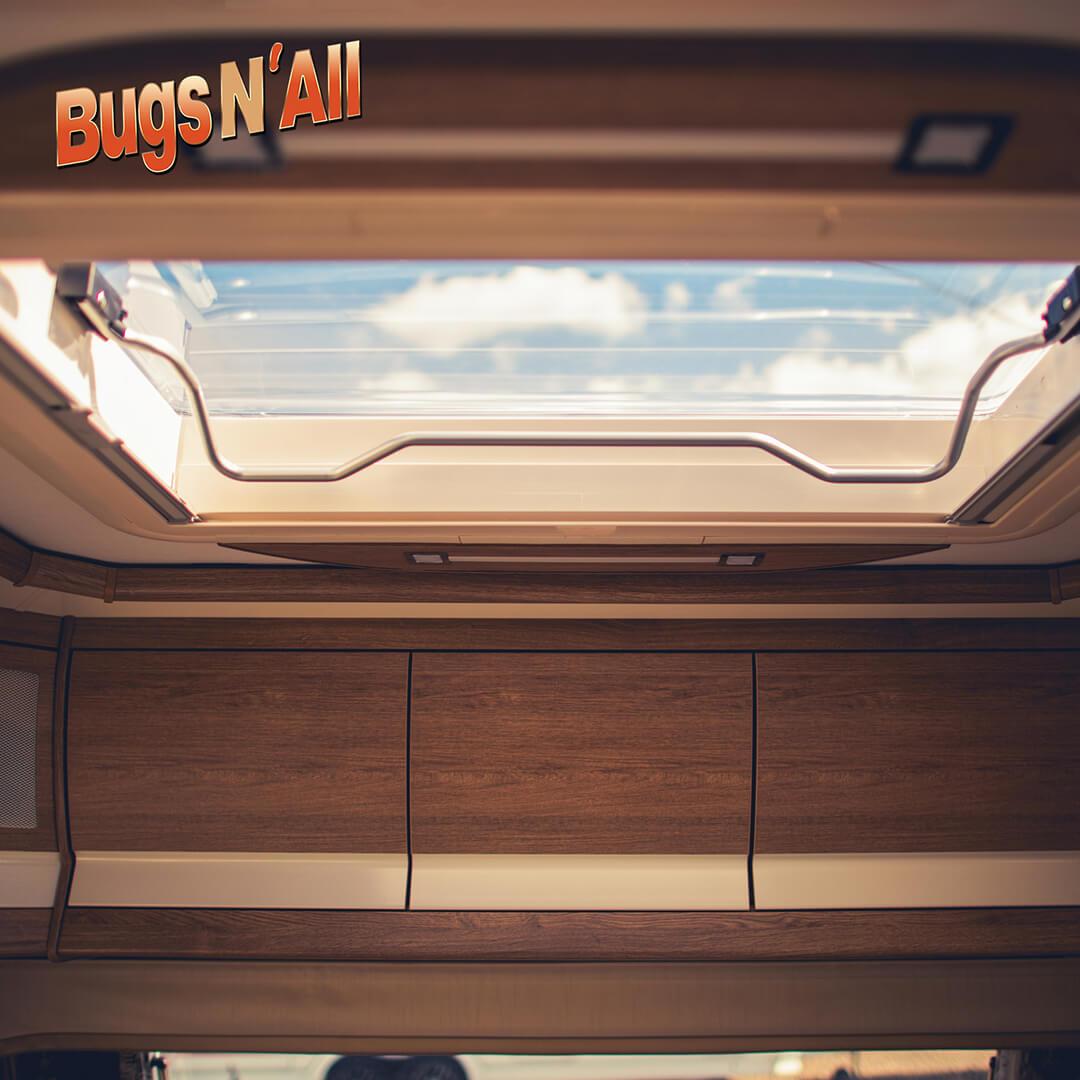
Step 5: Inspect the Roof and Seals
Look for damage to the roof and all seals, and fix any leaks. Don’t forget to check windows and window seals for cracks and leaks too. This is crucial after a difficult winter since the roof and seals may become brittle and vulnerable to cracking. Make sure to carefully examine the roof for any tears or cracks, and fix any damage as soon as it is discovered.
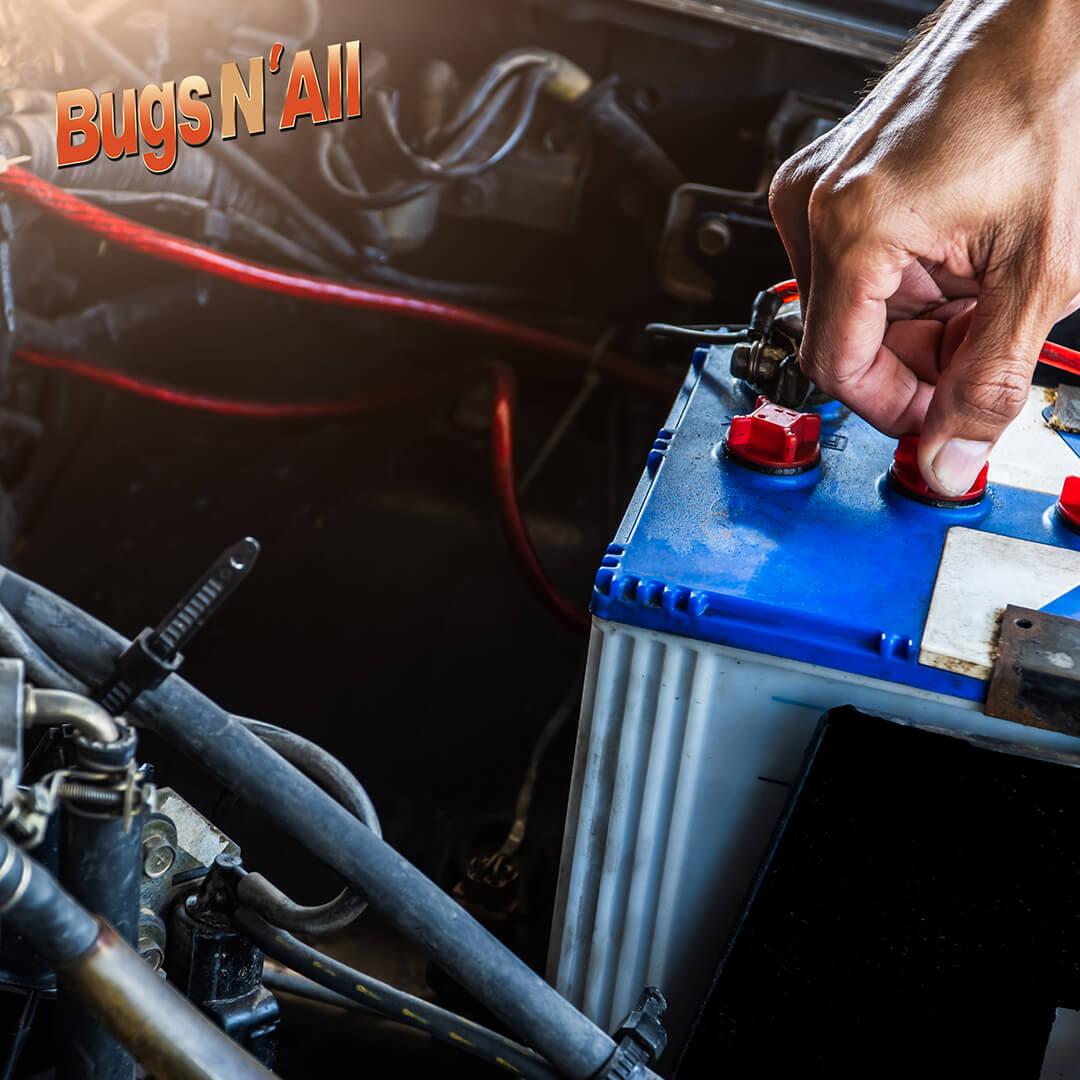
Step 6: Check the Battery and Charging System
Make sure the battery and charging system are in good working order by inspecting them. Make sure the battery is securely fastened in its location and that the battery terminals are corrosion-free and clean.

Step 7: Turn on the Refrigerator
The refrigerator should be turned on and allowed to reach the proper temperature. Clean the interior of the refrigerator and look for leaks in the door seals. To make sure the refrigerator is operating properly, replace the door seals if they are worn out or damaged. Be sure to inspect the gas vents to make sure the vents are unobstructed.
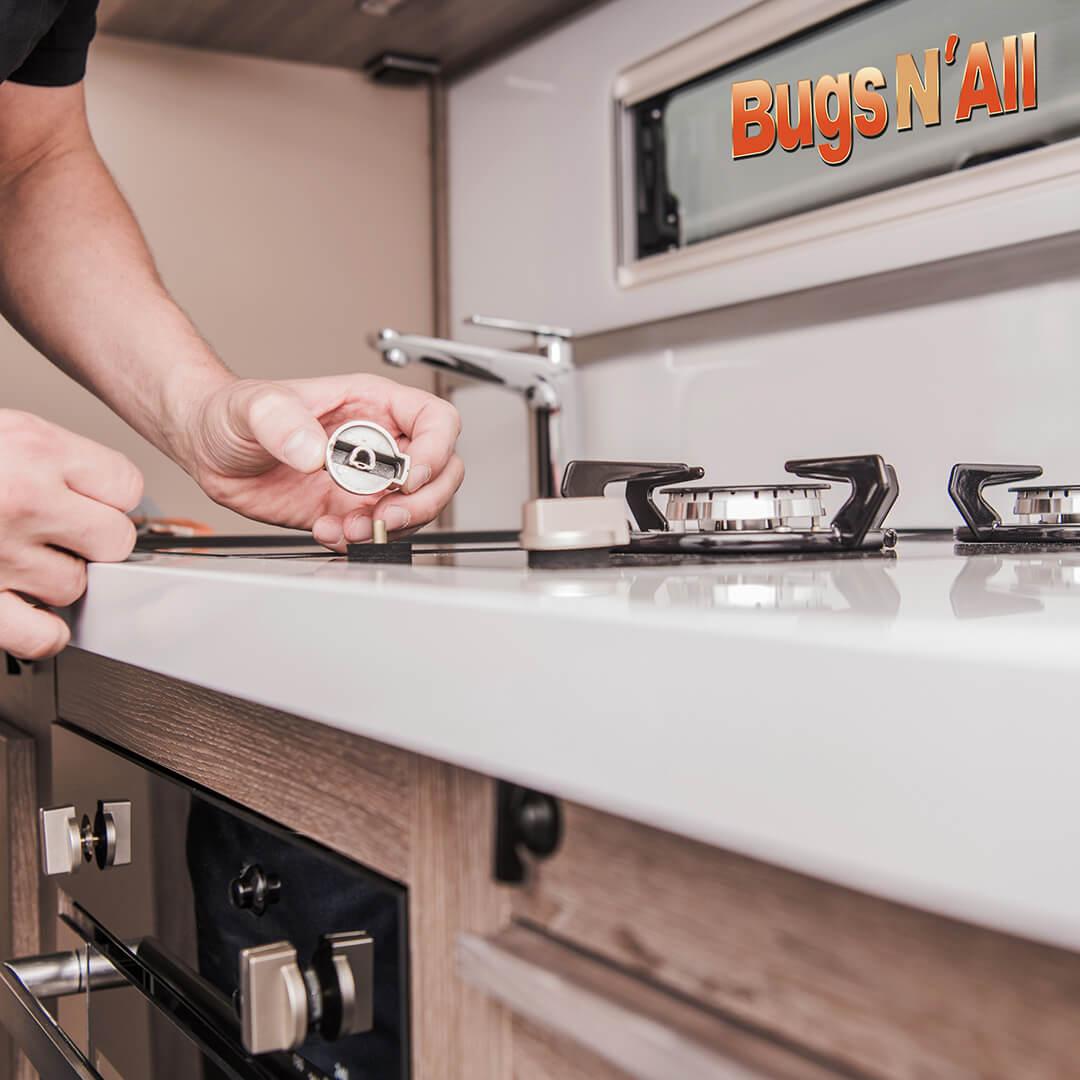
Step 8: Check the Propane System
Make sure the tanks are full and the connections are tight while inspecting the propane system. Verify that the lines are in good condition and that the propane tanks are securely fastened.
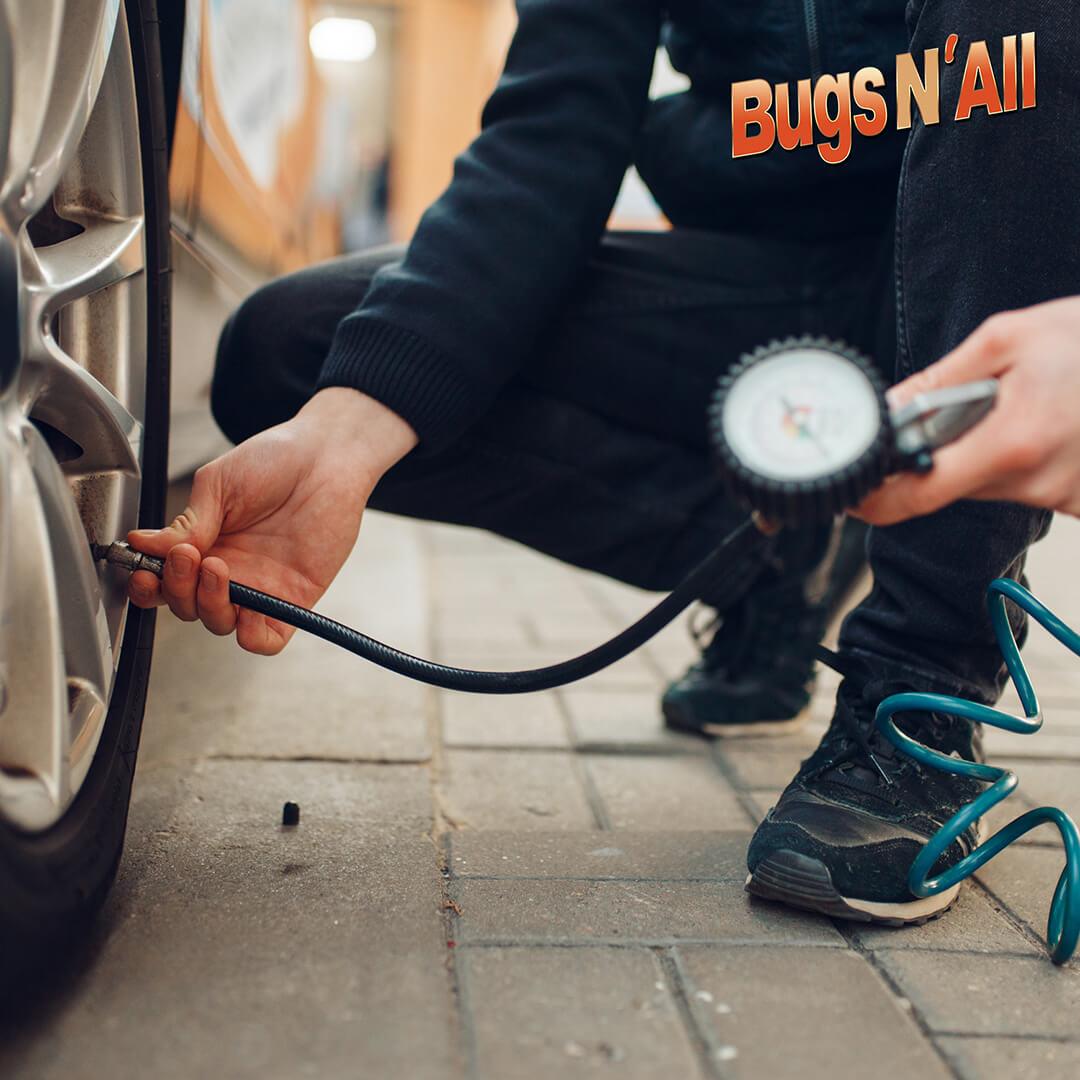
Step 9: Check the Tire Pressure
Make sure the tire pressure is at the recommended PSI level by checking it with an air pressure gauge. When tires are under-inflated, they can contribute to handling and stability issues when driving as well as excessive tire wear.

Step 10: Turn on all Appliances and Systems
Check that all pullouts, cabinets, storage areas, accessory utilities and appliances are operating properly. Turn on the stove, hot water heater, refrigerator, and water pump. Additionally, this will aid in clearing any leftover antifreeze.
Step 11: Check the Motor, Generator and\or driving components
Servicing your vehicle helps prevent breakdowns and possible delays during your vacation. Check the engine compartment for leaks, loose belts and broken or damaged wiring. Inspect the fluids and change those fluids according to the manufacturer recommendations.
Being that the Rv has been stored over the winter, it is a good idea to change out fluids, filters and grease any serviceable linkage. This includes, steering linkage, tie rod ends, ball joints and driveshaft.
While under the vehicle, inspect the condition of the floor, subframe, crossmembers, brake lines, fuel line and so on. Look for damage, stress cracks, missing bolts, leaks, worn or frayed wiring and hoses. Look at the brake pads and shoes to be sure they are not dangerously thin.
Leaks could be a sign that something more serious is happening and by repairing the leak, it could prevent costly repairs later.
Conclusion
Semi Truck drivers are required to do a pre-trip inspection of their vehicle to make sure it is safe for them to operate the vehicle. This inspection decreases the potential for breakdowns and possible serious accidents.
Likewise, the RV owners should conduct a similar inspection on their vehicle to make sure they have a stress free vacation. Enjoy your adventures without the hassle and stress of breakdown this summer.
The manufacturer for nearly every component in your RV will have some type of Maintenance recommendations you should perform periodically. Keep record of what type of maintenance you do when and perform maintenance regularly.
When it comes to cleaning your RV, Remember, Prosol Works all purpose cleaner and Bugs N All vehicle cleaner has got you covered.